在 Hostinger 的 VPS 上访问和设置 Chatwoot。
Chatwoot 是一个开源的客户互动平台,使企业能够从单一统一收件箱管理跨多个沟通渠道的对话——包括网站在线聊天、邮件、Facebook、WhatsApp 等。它提供实时消息、自动化、预设回复、团队协作工具和数据分析等功能,非常适合支持与销售团队。Chatwoot 设计为自托管或云部署,让组织完全掌控其数据和自定义。
借助 Hostinger 的 Ubuntu 24.04 64bit with Chatwoot VPS 模板,Chatwoot 因预装而设置精简。
本指南将帮助你在 VPS 上开始使用 Chatwoot。
开始使用
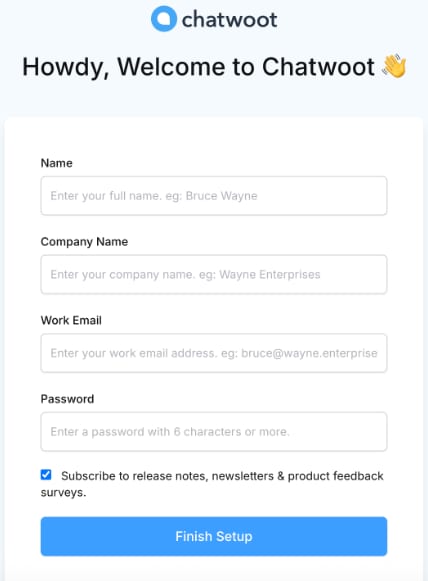
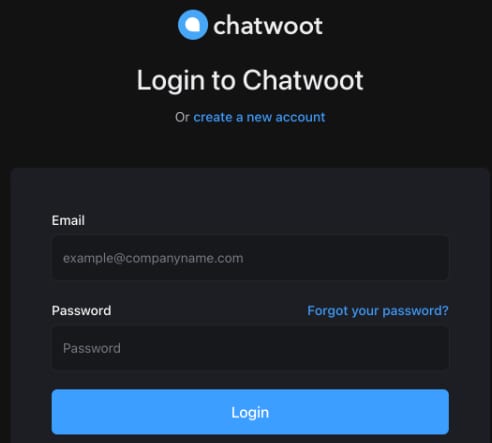
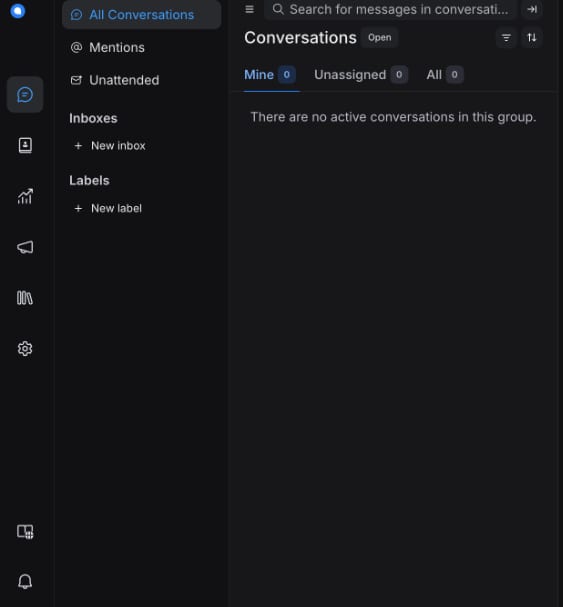
- 打开 Web 浏览器并访问
http://[your-VPS-hostname]。请务必将[your-VPS-hostname]替换为你的 VPS 实际主机名。 - 填写你的详细信息并点击 Finish Setup(完成设置)。
- 完成设置后,你将被重定向到登录页面。输入你的凭据以继续。
- 登录后,你将看到 Chatwoot 仪表盘:
💡 要了解有关 Chatwoot 功能和配置的更多信息 – 请参阅 Chatwoot 用户指南。
要了解 Chatwoot 支持的 .env 变量,请参阅环境变量指南。你可以通过登录 VPS 找到它们——例如:
ssh root@<your-vps-ip>
或使用 hPanel 中的 Web 终端。然后导航到:
cd /root/chatwoot
在那里你会找到 docker-compose 和 .env 文件。用你喜欢的文本编辑器编辑 .env 文件并重新创建容器,例如:
nano .env

docker compose down
docker compose up -d
💡 更多详细信息和故障排除,请参阅 Chatwoot 文档 💡
来源:Hostinger 官方帮助文档