为什么要使用个性化
个性化的邮件让人感觉更真实、更有参与感。与其向所有人发送相同的通用消息,你可以通过姓名向订阅者问好,或直接在内容中包含他们的详细信息。这个简单的细节可以提升打开率、点击率和客户忠诚度。
如何为邮件模板添加个性化
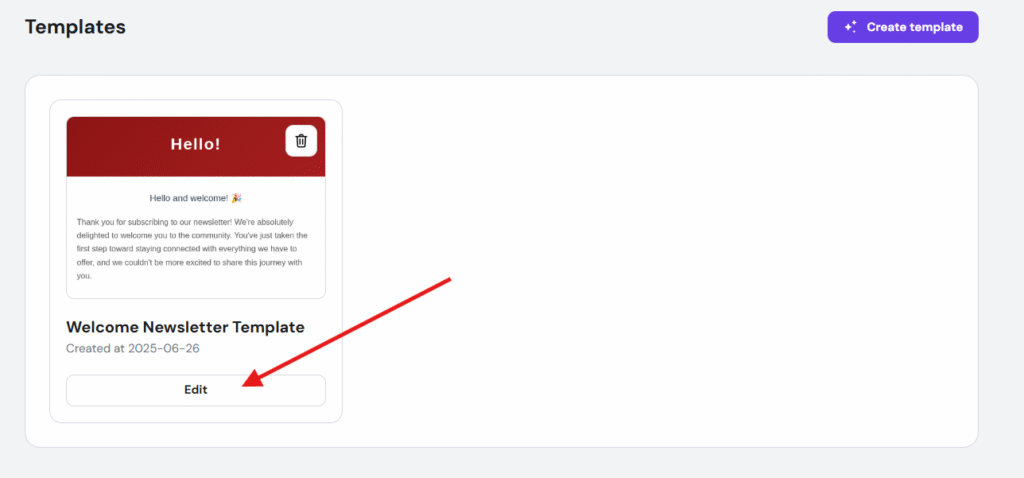
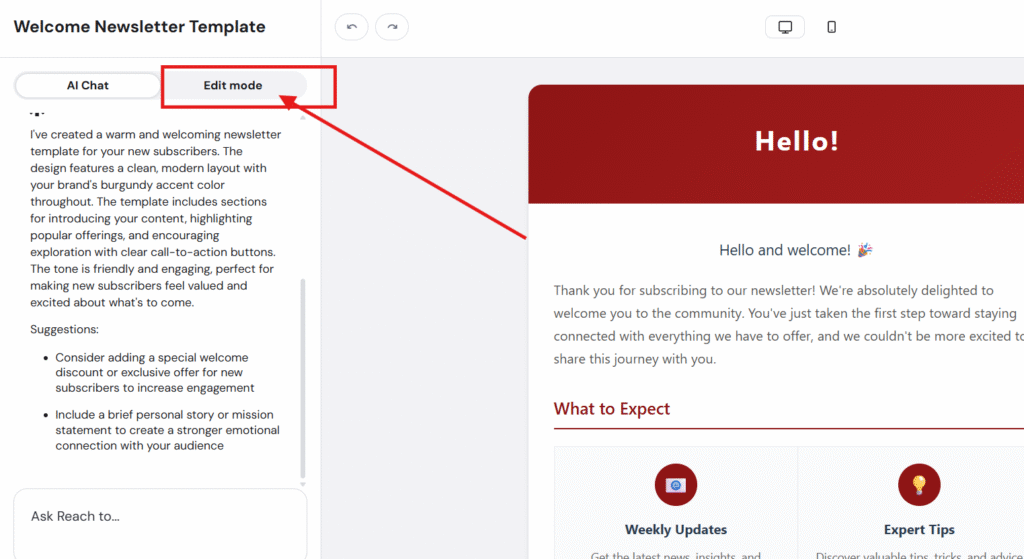
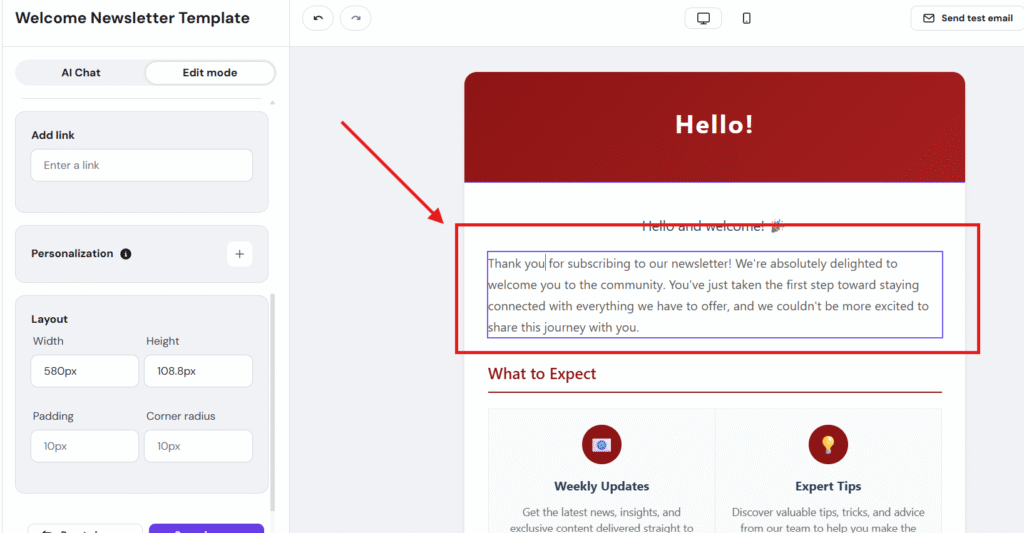
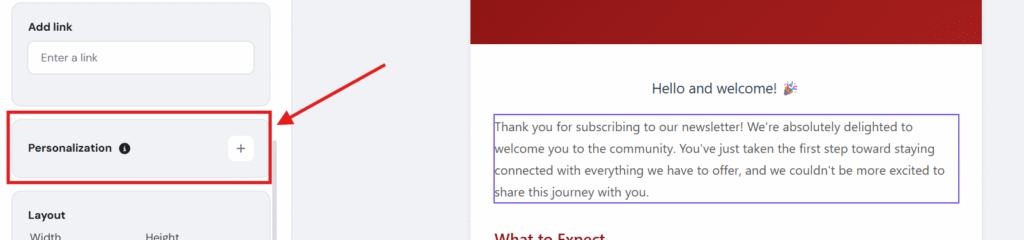
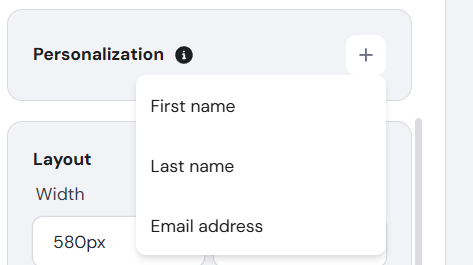
按照以下步骤为你的邮件添加个性化字段:
- 前往你的邮件模板编辑器 导航到 Edit email template(编辑邮件模板) → Edit mode(编辑模式)。
- 选择你想要个性化的文本 点击你希望插入订阅者信息的位置所在的文本区域。
- 插入个性化 点击 Personalization(个性化) 按钮,然后点击 加号(+) 图标。
- 选择你的个性化字段 选择你想要包含的数据——例如 First name(名字)、Last name(姓氏) 或 Email address(邮箱地址)。
- 添加回退文本(可选)
如果订阅者的数据缺失,你可以编辑或保留显示的默认回退文本。
例如:{{name, There}} 如果某个联系人没有保存姓名,将显示单词 There 作为替代。
6. 留一个空格以跳过个性化(可选)
如果你希望在没有可用数据时完全跳过个性化,只需在回退区域添加一个空格即可。
重要说明
-
你会在模板中看到类似 {{name, There}} 的文本。不要删除或修改这个占位符,因为它对个性化正常运作至关重要。
-
你可以在发送前预览邮件,以确保个性化按预期显示。
示例
个性化之前:
Hello there, we’ve got something special for you!(你好,我们为你准备了一些特别的东西!)
个性化之后:
Hello Anna, we’ve got something special for you!(你好 Anna,我们为你准备了一些特别的东西!)
就是这样! 只需点击几下,你的邮件模板现在就更加个性化和有吸引力了。🎉
来源:Hostinger 官方帮助文档