本文将介绍如何将您的 WordPress 网站迁移到 Agency 托管套餐。您有三种可选方案:

  1. 几次点击即可完成的自动迁移
  2. 由我们上传文件并恢复
  3. 由您手动上传文件并恢复

您可以在下方找到每种方案的详细步骤。

方案 1:自动迁移
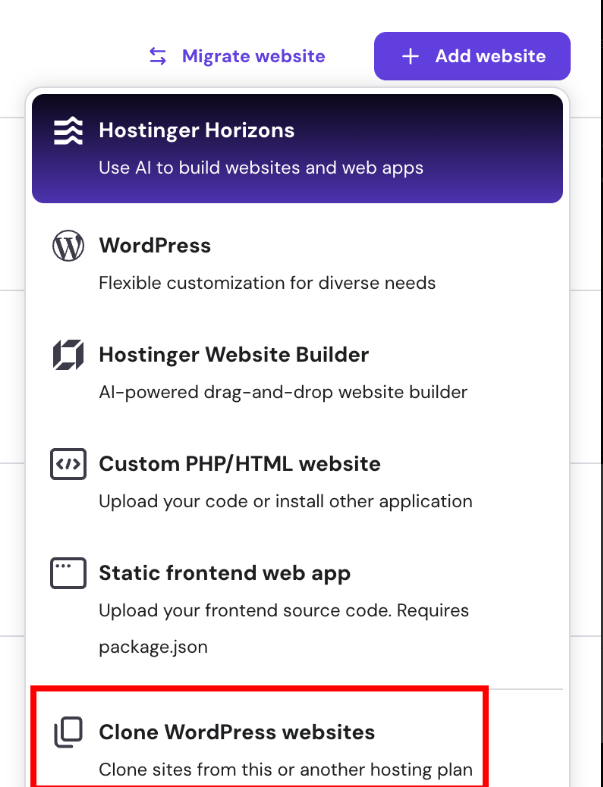
Hostinger plan menu with Clone WordPress websites option highlighted
Websites list menu and Migrate website button on the Agency Startup site card

如果您的网站位于同一账户但不同的托管套餐下,可以使用 克隆 WordPress 网站 功能将其克隆到 Agency 套餐!

如果您的网站位于其他托管提供商处,您可以参考以下步骤:

点击 Websites(网站) > Websites list(网站列表) > Migrate website(迁移网站)

迁移离线网站

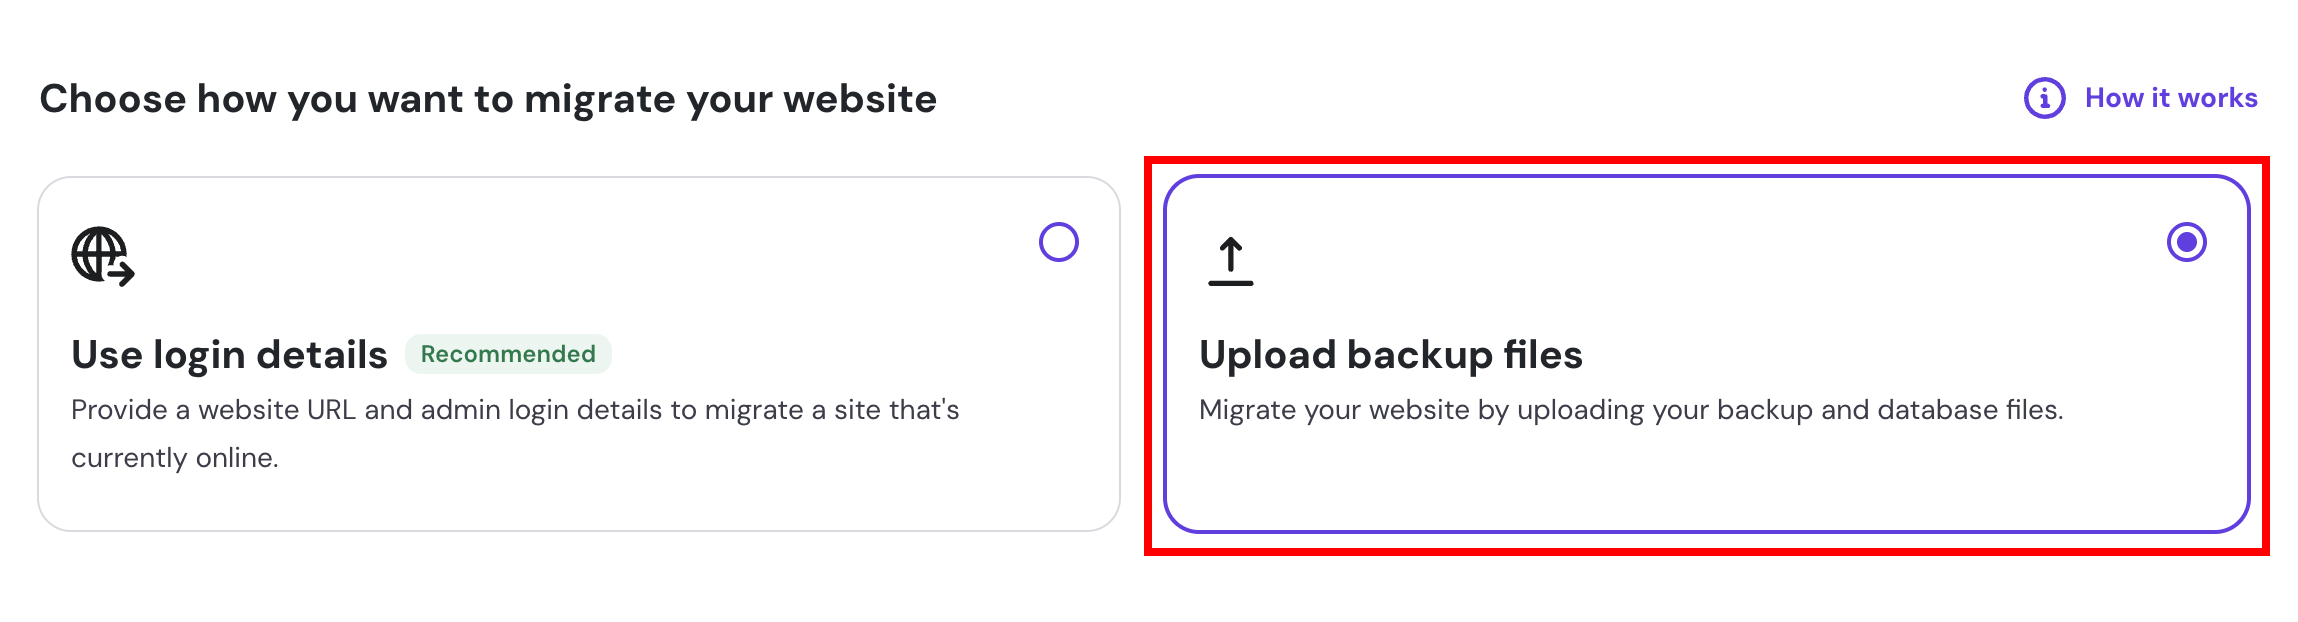
Upload backup files migration option selected

如果您的网站处于离线状态,或者您有备份,可以使用 ‘Upload Backup Files’(上传备份文件) 选项轻松上传您的网站文件和数据库。

上传网站备份后,您会被重定向到一个摘要页面,在最终提交前查看迁移详情。提交迁移请求后,我们的专业迁移团队会为您处理迁移,确保顺畅无负担。

迁移在线网站
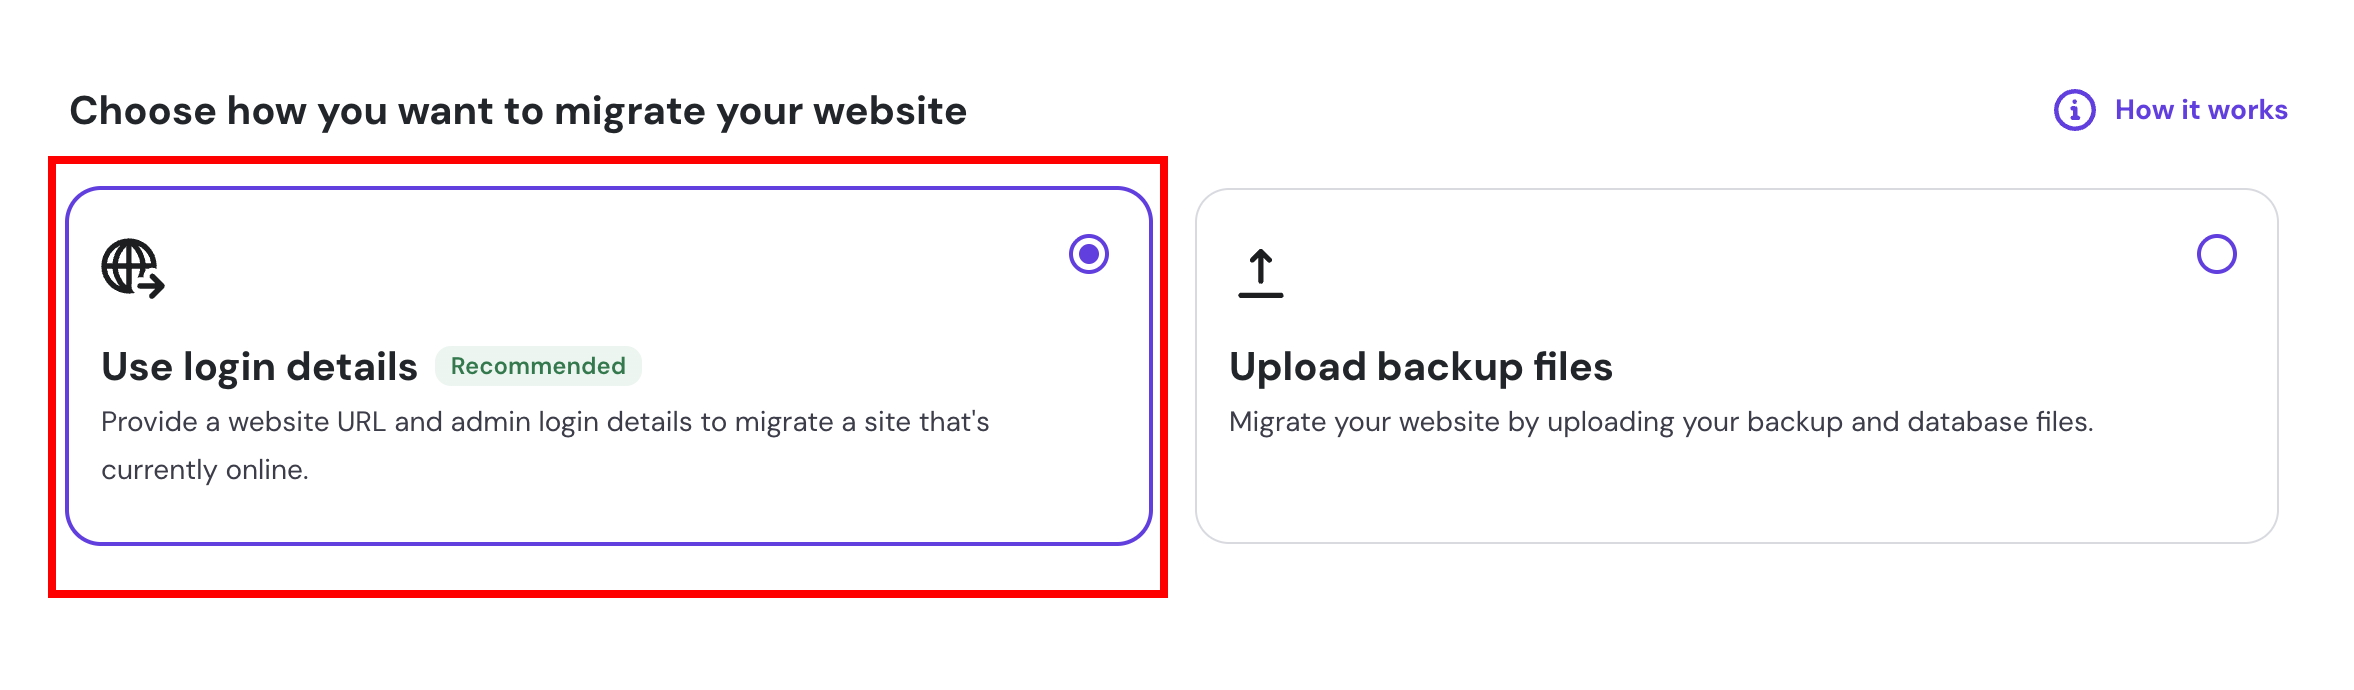
Website migration: Use login details option selected, recommended card
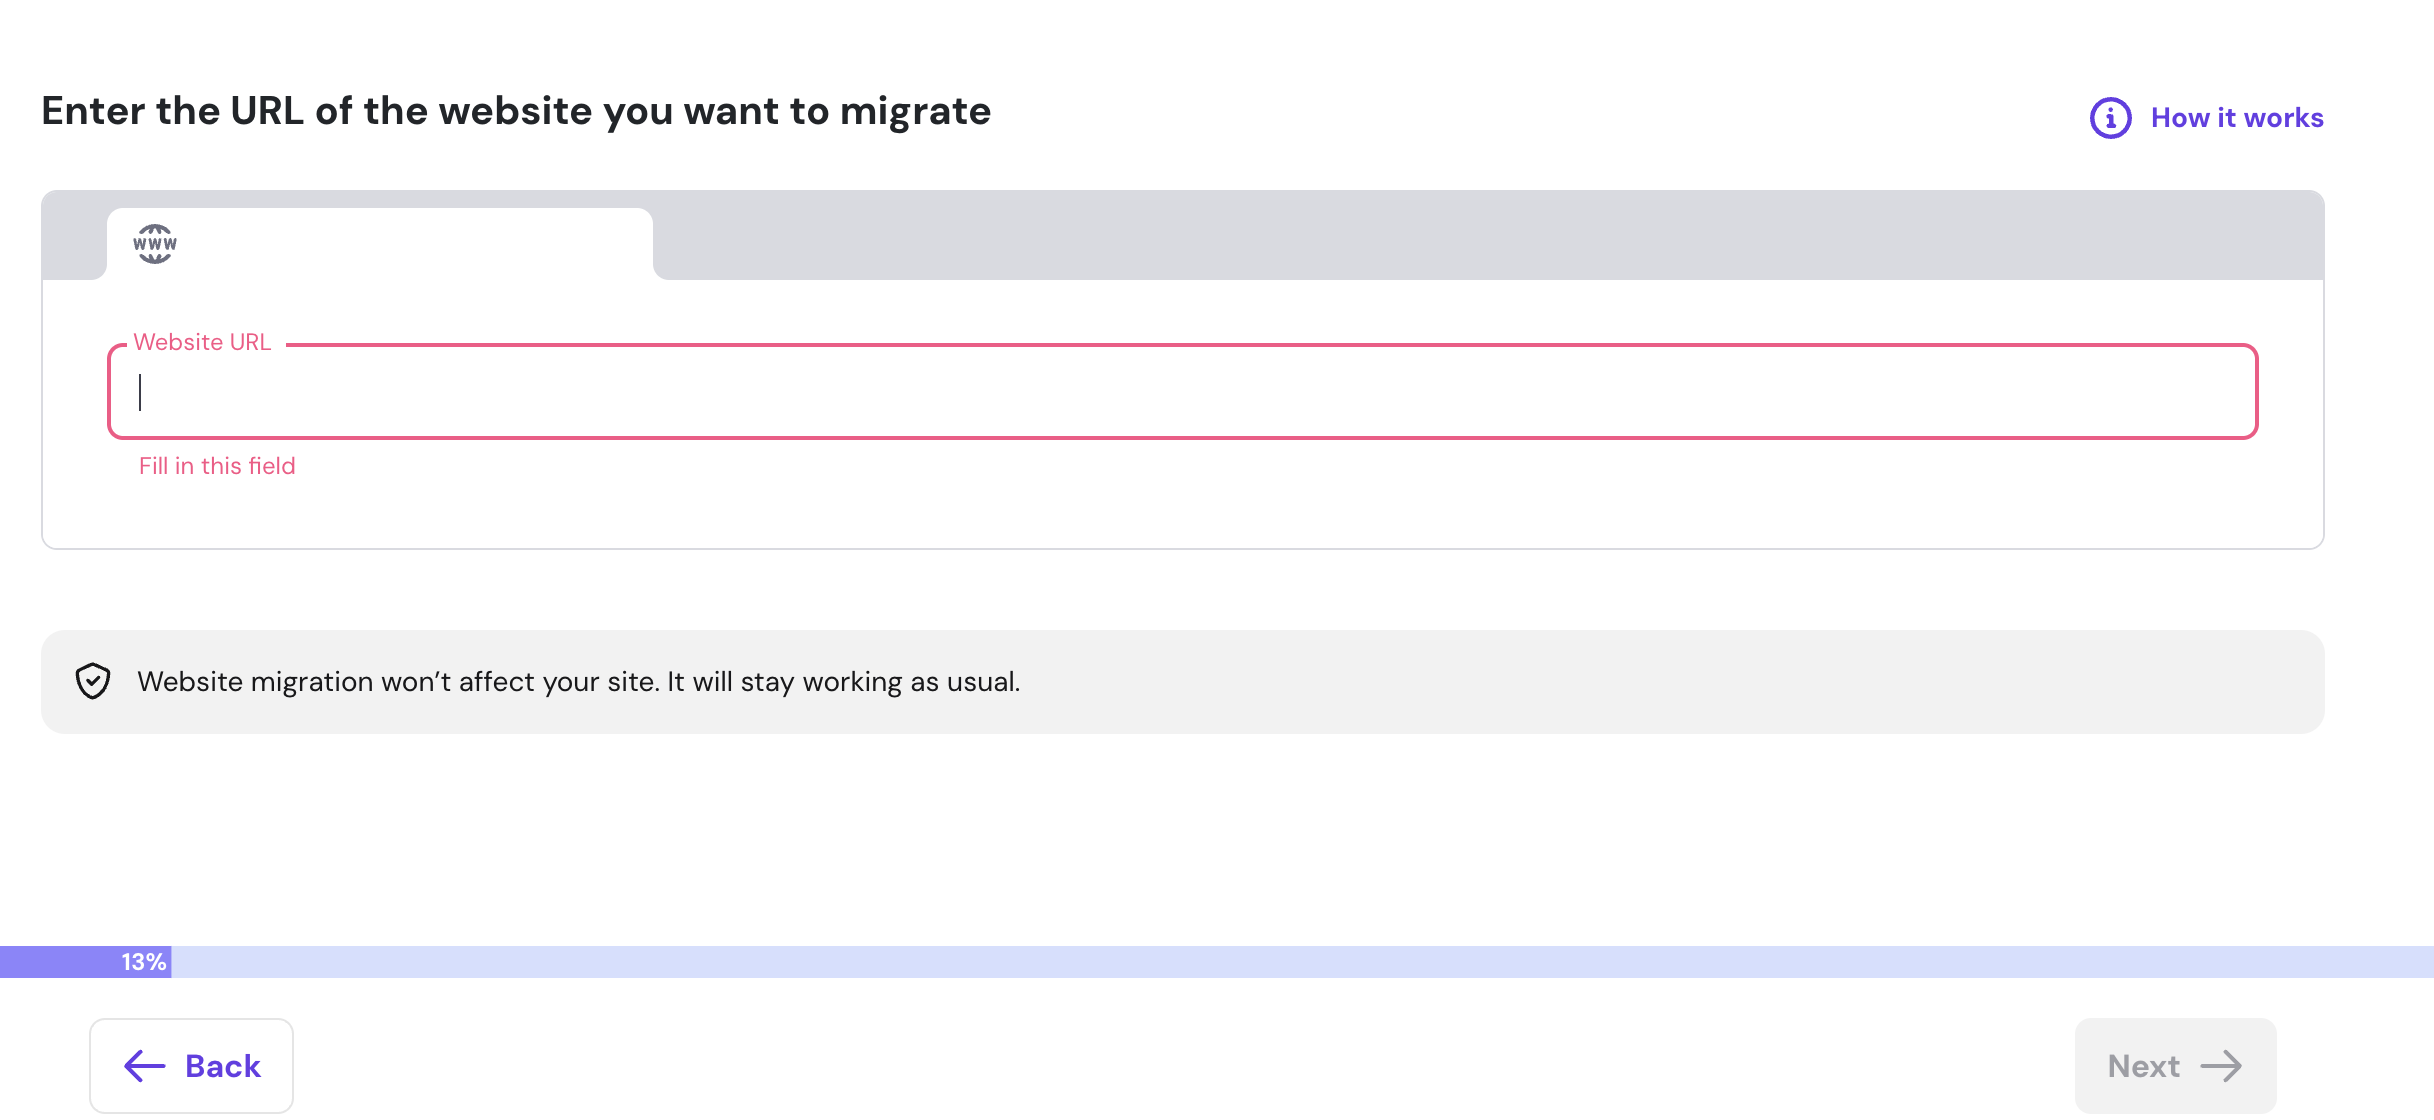
Migration form with Website URL field focused and required, Back button, Next disabled, 13% progress
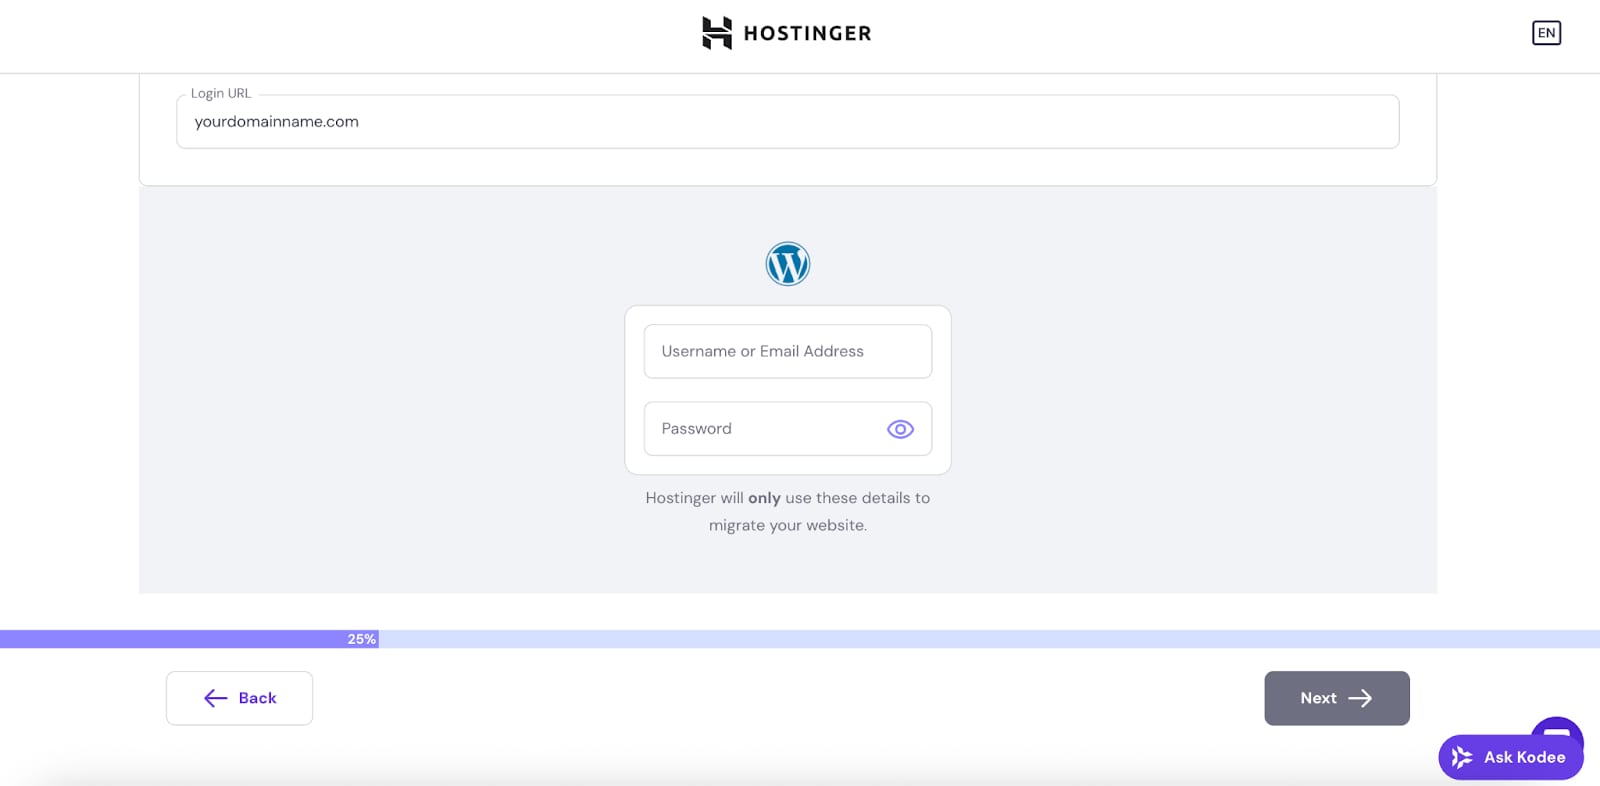
Hostinger WordPress migration form with username and password fields highlighted
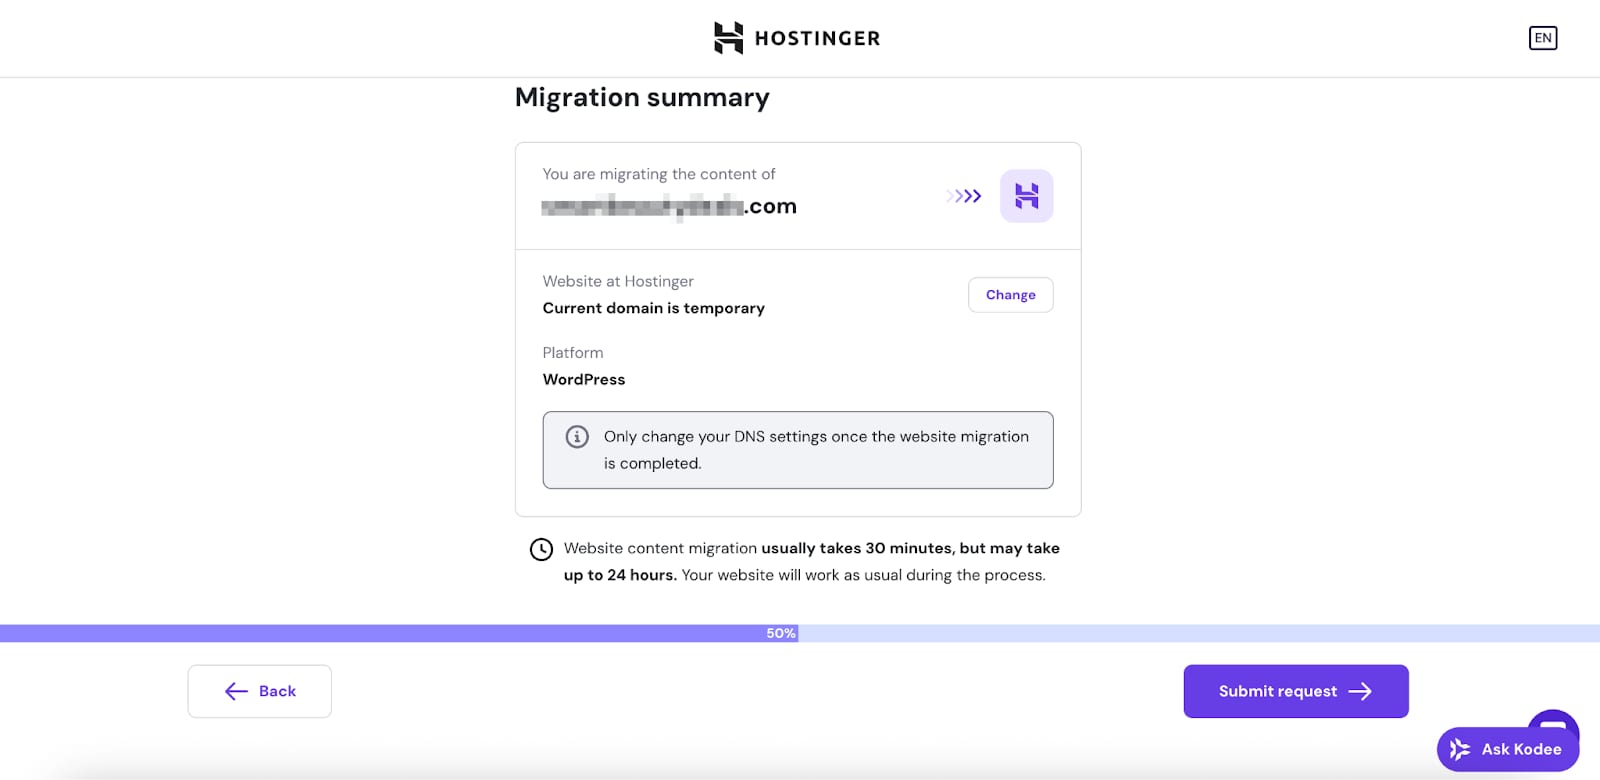
Hostinger migration summary for WordPress site with Submit request button and 50% progress bar
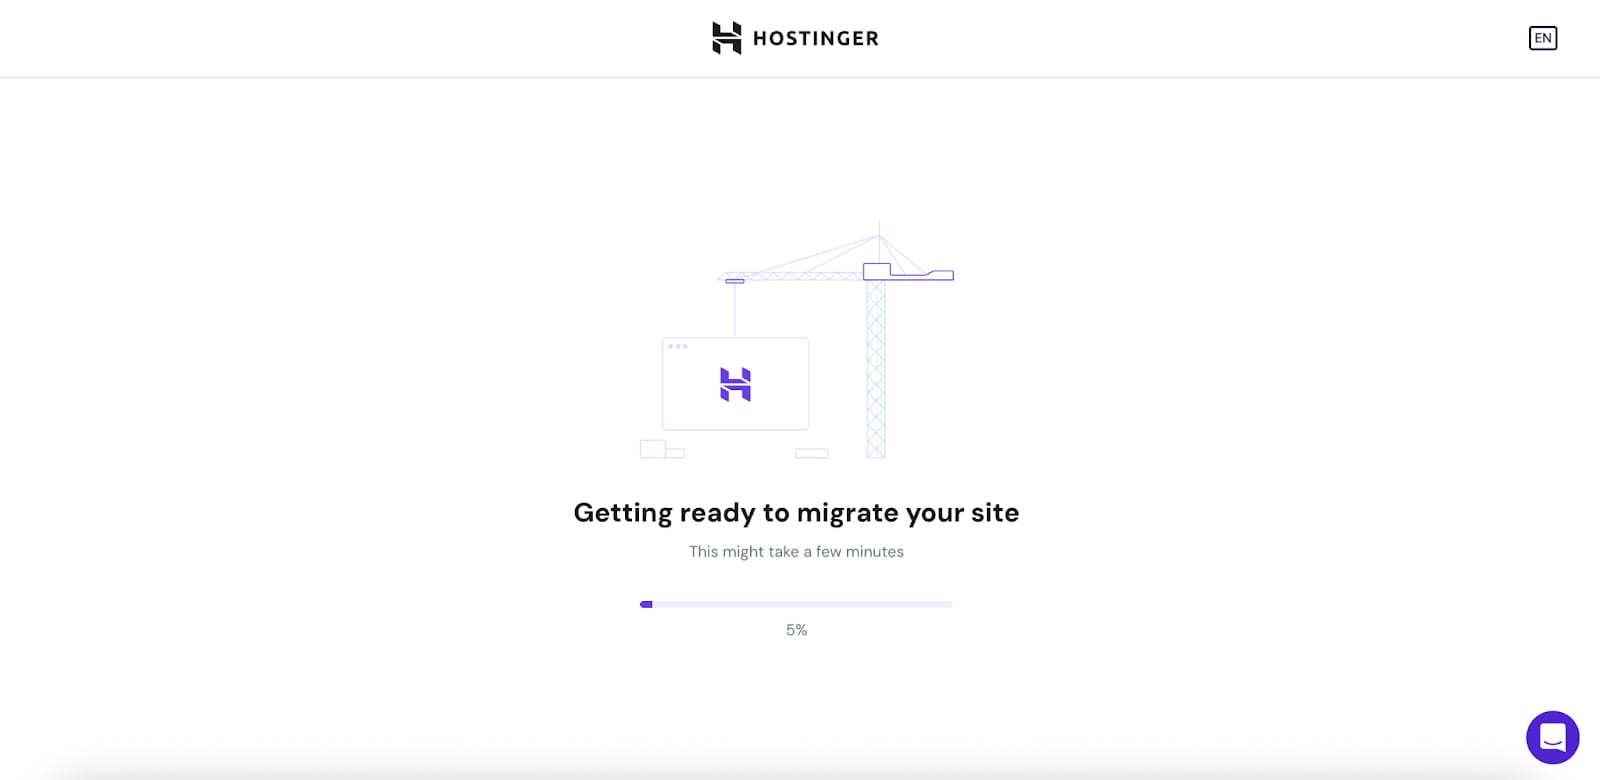
Hostinger migration progress screen with 5% complete and “Getting ready to migrate your site” message

如果您的网站在线且您拥有登录凭据,只需选择 “Use Login Details”(使用登录凭据) 选项即可安全地轻松迁移您的站点。

输入您的网站地址(域名)并点击 Next(下一步)

输入您的 WordPress 凭据并点击 Next(下一步)

准备好后点击 Submit request(提交请求),或点击 Change(更改) 从套餐中选择一个域名

等待迁移设置完成

在进度条完成前不要离开此屏幕。如果在设置完成前离开,所有更改都会丢失,您必须重复整个过程。

等待迁移完成。您会通过电子邮件收到通知。

方案 2:手动迁移
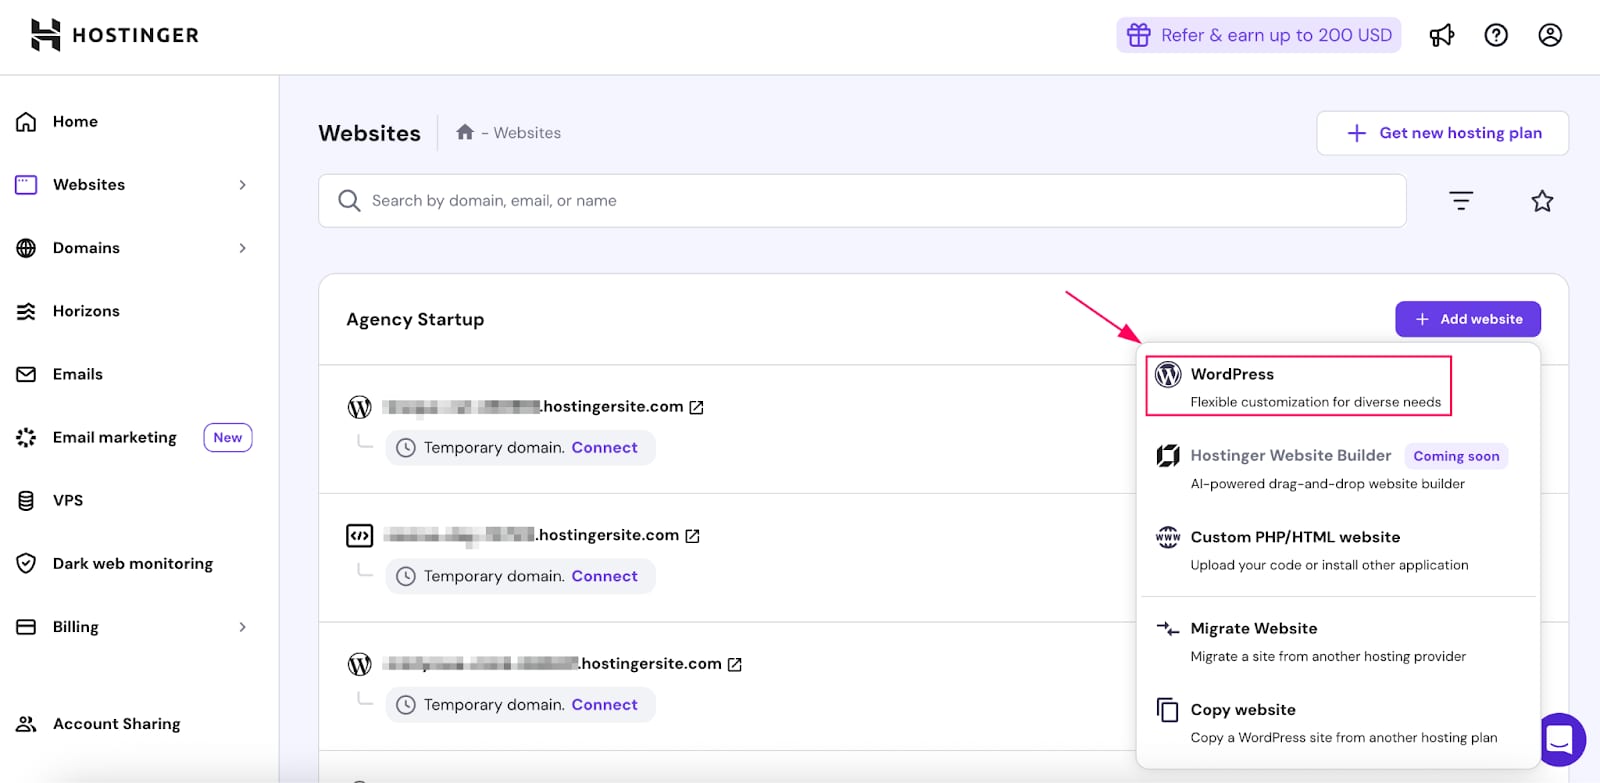
WordPress add website menu with WordPress option highlighted
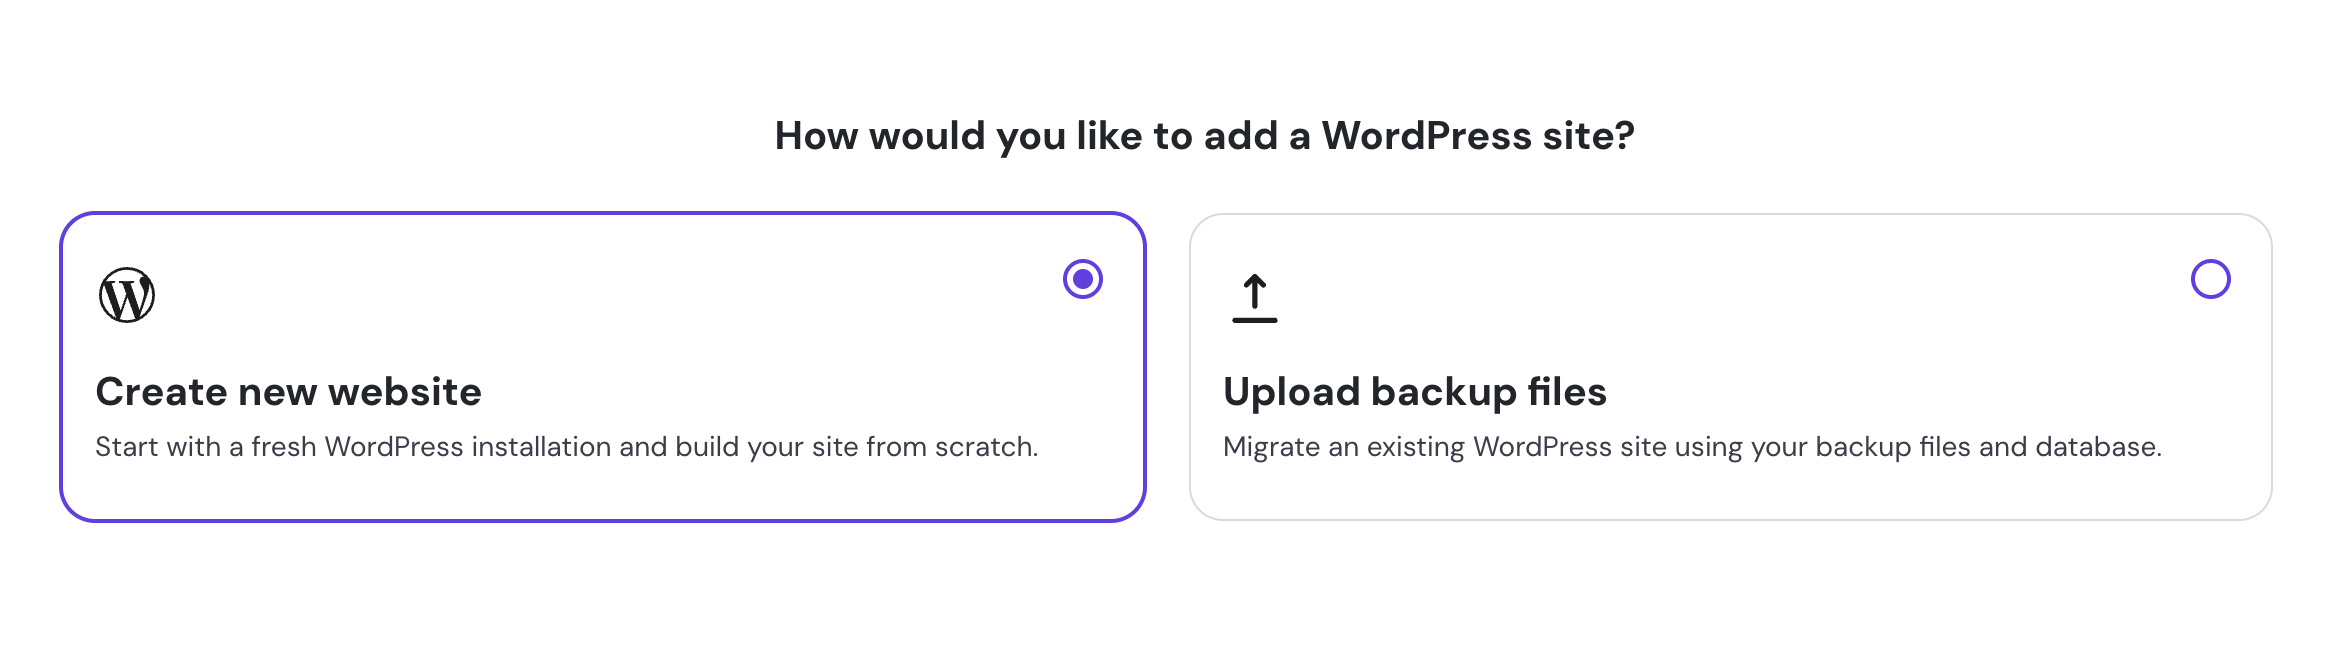
WordPress create new website option selected
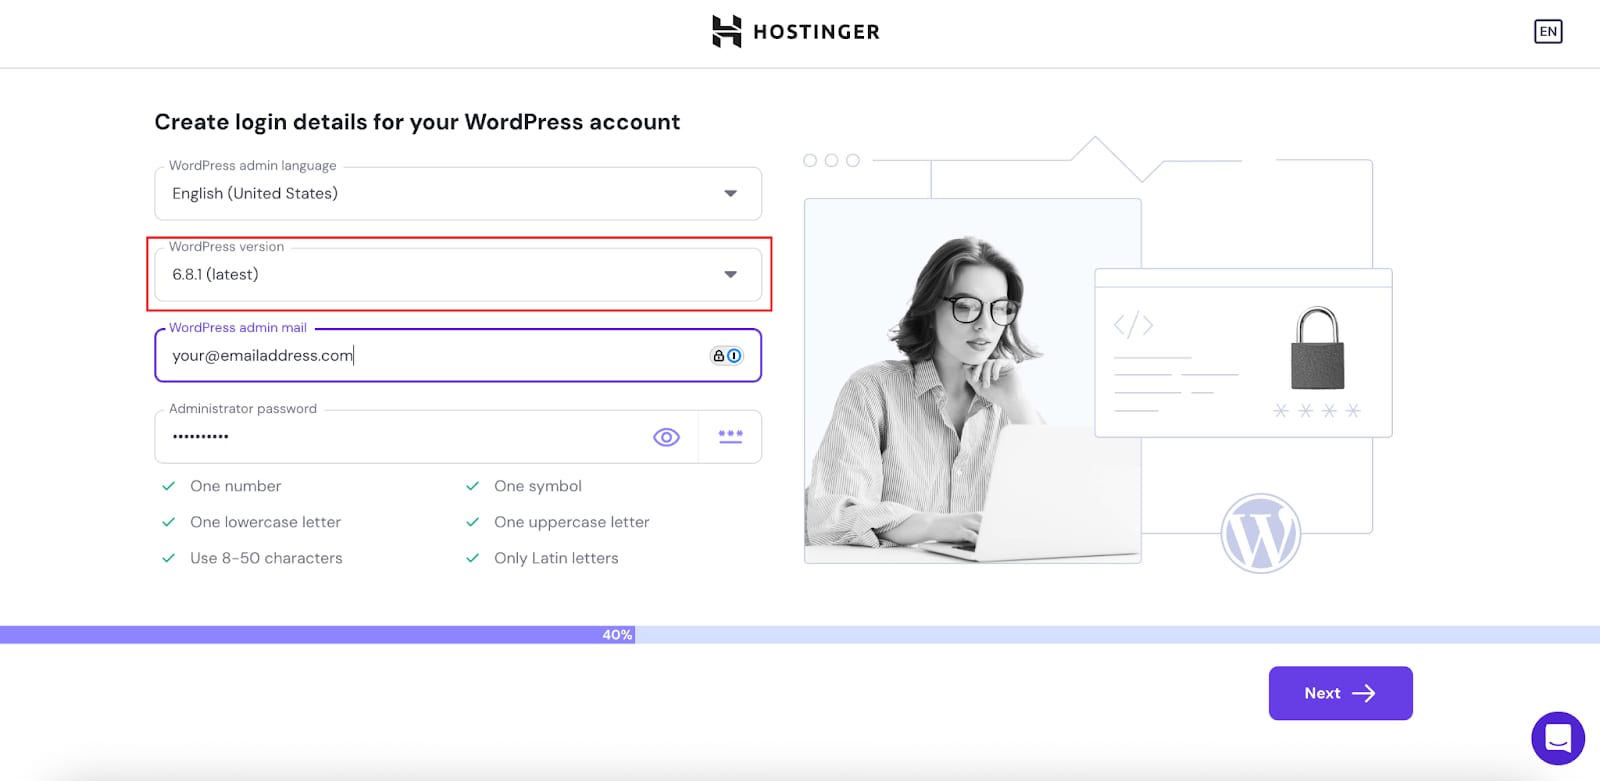
WordPress version dropdown set to 6.8.1 (latest) in login details form
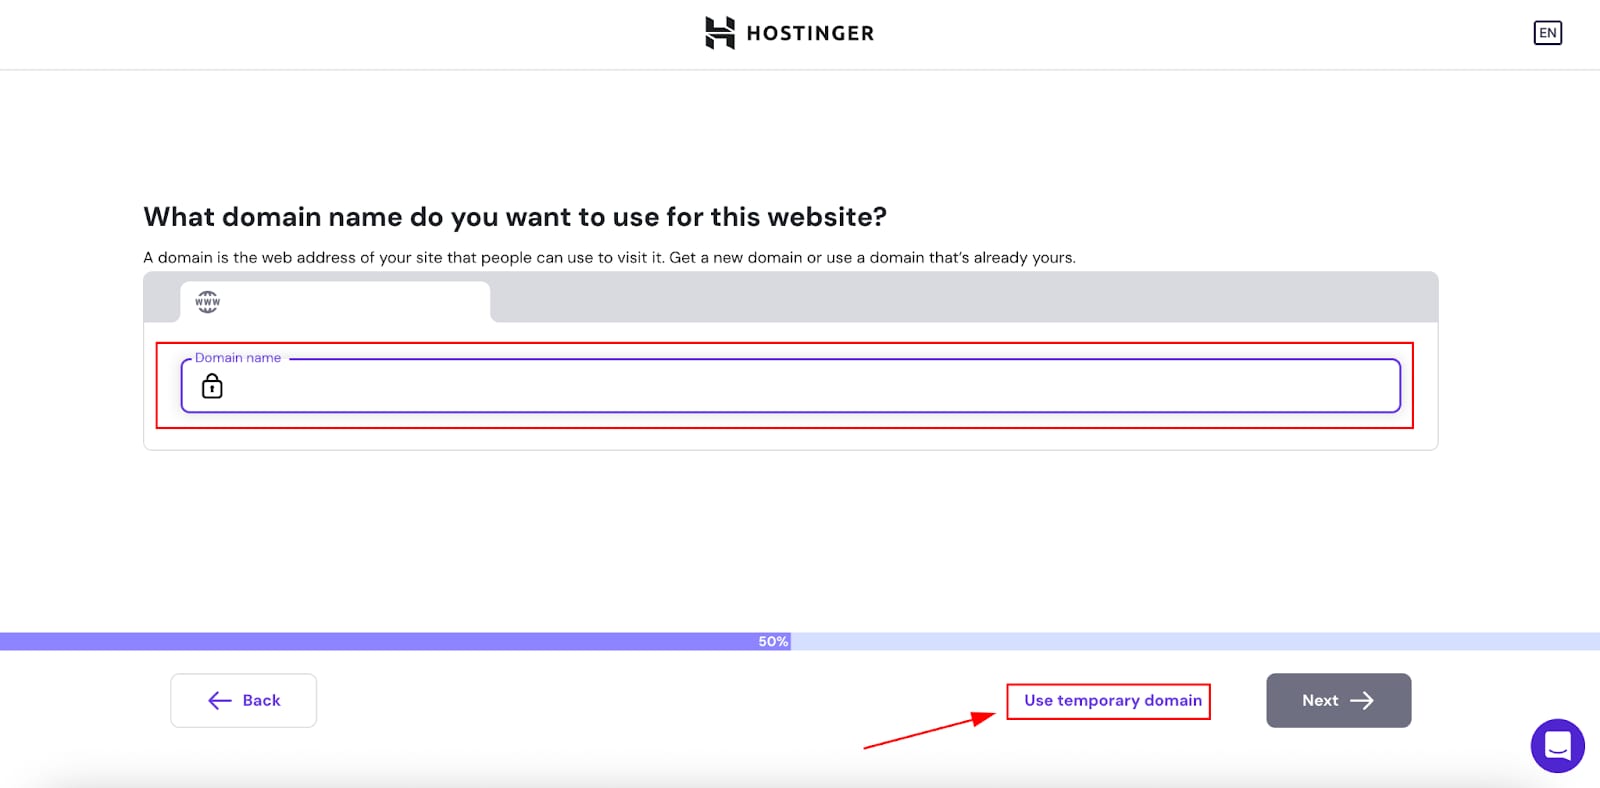
Hostinger website setup with Use temporary domain button highlighted
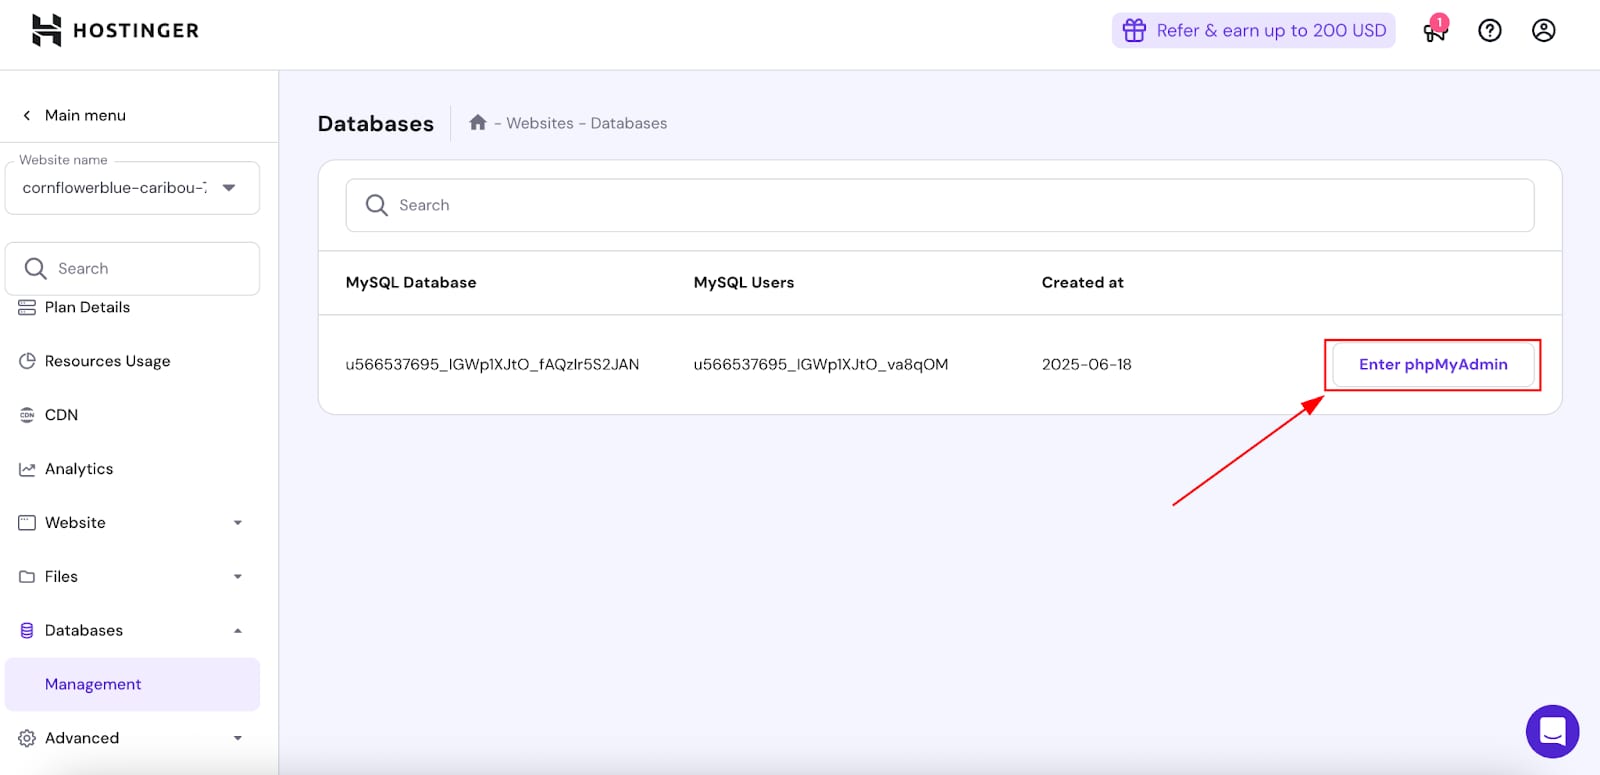
Hostinger Databases page with the Enter phpMyAdmin button highlighted
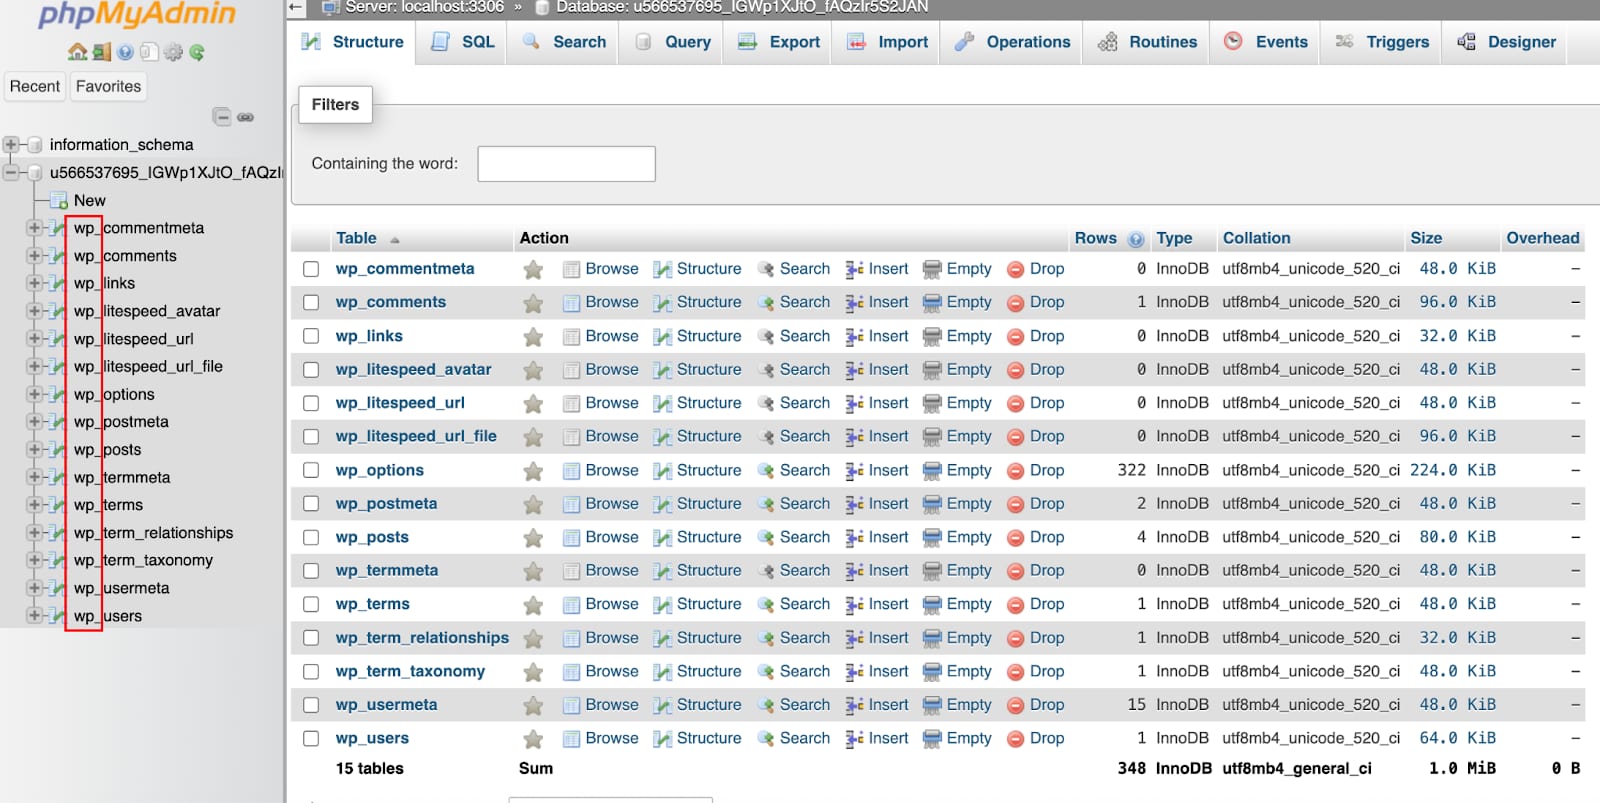
phpMyAdmin database table list with wp_ table prefixes highlighted in the left sidebar
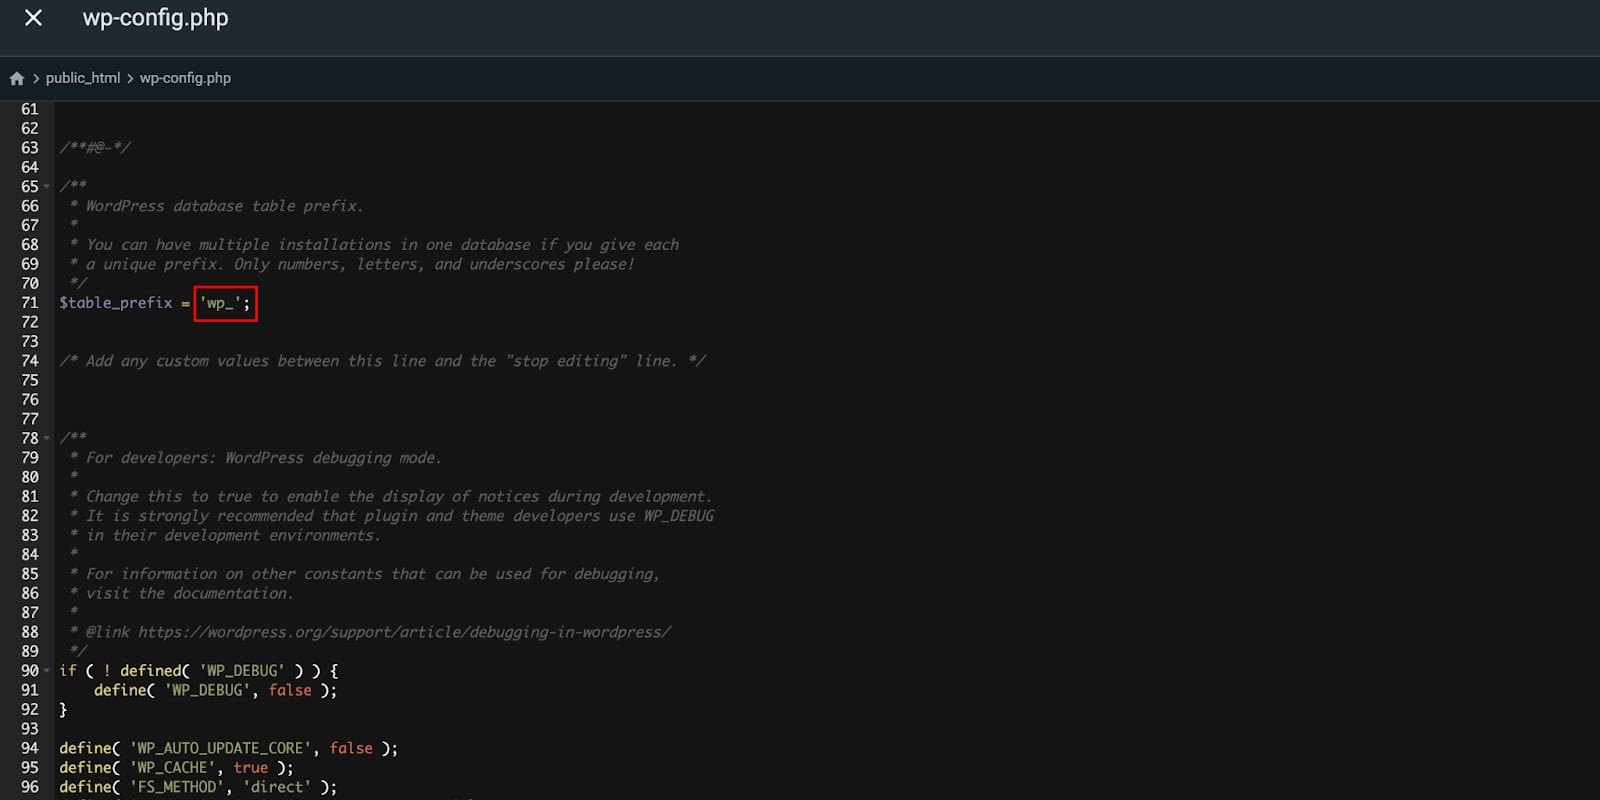
wp-config.php editor with highlighted table prefix wp_

第 1 步 —— 在之前的托管提供商处,对 wp-content 文件夹做压缩备份并导出数据库。

第 2 步 —— 点击 Add Website(添加网站) 并选择 WordPress

第 3 步 —— 选择 Create New Website(创建新网站)

第 4 步 —— 填写您的凭据,并选择与之前托管相同的 WordPress 版本,点击下一步:

第 5 步 —— 输入您的网站域名或选择临时域名,点击下一步:

第 6 步 —— 进入全新 WordPress 安装的文件管理器,删除 wp-content 文件夹(除一个文件夹外所有内容都会被删除)

第 7 步 —— 上传并解压 来自之前托管提供商的 wp-content 文件夹

第 8 步 —— 进入安装 WordPress 时创建的数据库,方法是转到 Databases(数据库) > Management(管理) 并点击 Enter phpMyAdmin(进入 phpMyAdmin)

第 9 步 —— 选择并删除所有数据库表

第 10 步 —— 导入数据库备份(来自您之前的托管)

第 11 步 —— 在 phpMyAdmin 中检查 db-prefix(数据库前缀):

第 12 步 —— 如果它与 “wp_” 不同,则需要更新 wp-config 文件,并设置与数据库中相同的前缀(在文件中向下滚动找到 $table_prefix 值):

如果您需要编辑 wp-config 文件,必须通过文件管理器 > 关闭 Editing permission(编辑权限)开关来启用权限。

如果迁移到了与原网站不同的域名(例如 domain1.com 迁移到 domain2.com,或临时域名 xxxx.hostingersite.com),那么您还需要在 wp-options 表中替换 “home” 和 “site_url” 的数据库 URL 值。

如果您的网站上仍然显示旧 URL,或站点媒体加载不正常,您可能需要使用额外工具清理数据库中的旧站点 URL。

来源:Hostinger 官方帮助文档